

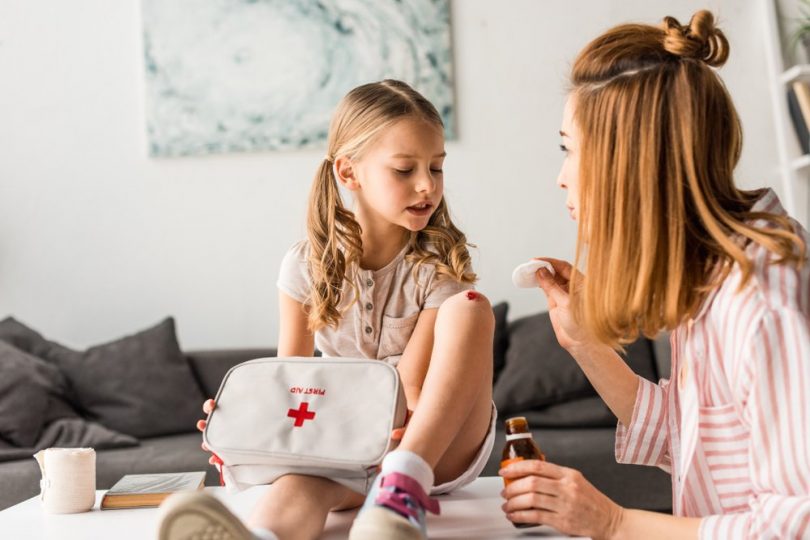
The role of first aid kits is indispensable. In an emergency, it provides immediate assistance to the injured or sick person. Therefore, one must have an idea and understanding to use the first aid kit.
This Is How You Should Use a First Aid Kit
Step 1: First Aid Kit Basics
- Ointments and medications
- Basic Tools( health equipment)
- Bandages and dressings
- Miscellaneous (scissors, tweezers, eye wash, safety pins, microporous tape, etc.)
Step 2: Cautions And Tips
- Regularly check the expiration date of the medicines so as to prevent any mishap.
- For a first aid travel kit, it should be comprehensive because medical stores may not be accessible at some places.
- Arrange the different items of the kit by keeping wound supplies and the medications separately.
- First aid kits which are water resistant and drop-proof are always a better option for they could be used while traveling as well.
- Make sure that you and some of your family members are well-versed with the usage of the medications.
Step 3: How To Use
-
Bandages
Use ace bandages for wrapping strained or sprained joints and the adhesive bandages for any sort of cut or scrapes in the body.
-
Aspirin Tablets
These tablets should be taken if you have fever or moderate pain from conditions such as common cold, and headache.
You should always take them with a glass of water after meals or along with the meal.
-
Disposable Gloves
Before treating someone’s injury or coming in contact with their body fluid like blood or saliva, make sure you have disposable gloves on. This precaution helps prevent germs and infection from spreading.
-
Cotton Balls/Wools
They can be used to clean out wounds, for padding and protection. In certain cases like cuts, they are used to top it on the ointment before the dressing of the wound.
-
Tweezers
If you are an outdoor enthusiast, tweezers really come handy in removing splinters or ticks. Just disinfect them before and after use using alcohol and other disinfectants.
-
Antiseptic Solution And Ointment
Apply antiseptic solution using cotton balls on the affected area and let it dry. After this, apply the ointment on the injury or cuts to help the skin heal better and faster.
-
Gauze
In case of deep cuts, burns, or lacerations, use a gauze to clean and cover the wound to prevent bacterial or fungus growth.
-
Flashlights
If you are traveling at night or end up hurting yourself in situations where there is no electricity, flashlights become very crucial. With their assistance you can treat the wound.
-
Adhesive Tapes
Also known as surgical tapes, these adhesive tapes are used to attach the bandages, gauze or any form of dressing to skin around the wound.
Essential Things to Know
-
Stitches
If you are bleeding excessively so much that the blood can soak a bandage, the wound is more than half-an-inch long, has ragged edges, and has debris like glass, it is likely that you need stitches.
Just before you head for a doctor, don’t touch the wound and try to keep your stomach empty so that when you reach the doctor the treatment can start without any delay.
-
Cuts And Scrapes
First try to stop the bleeding and then clean the cut or scrape. After this, protect the wound using bandage or gauze and try to reach the doctor immediately.
-
Broken Bone
If there is intense pain, swelling, bluish color or numbness in the injured area or if there is a sight of bone protruding, it clearly suggests that it is a case of broken bone.
In such a situation, while getting professional help make sure on your part to apply cold ice bags to the area and immobilize the injured area.
-
Deep Wound
If even after applying continuous pressure there is no control in the bleeding or if you have any prior medical condition, it may mean you have got yourself a deep wound.
Make sure you keep the wound protected by applying ointment and covering it.
-
Gunshot Wound
In case of a gunshot wound, apply strong pressure to prevent blood from oozing out. Immediately do the dressing.
If the bandage or gauze is available, retort to shirt or any clothing. Let them lie or sit in a comfortable position.
-
Burns-
Burns can be categories under three categories-
a) First-degree Burns
It affects only the outer layer of the skin i.e., epidermis causing redness. Just run it under cold water and apply petroleum jelly. Avoid direct sun.
b) Second-degree Burns
Affects epidermis along with dermis i.e., inner two layers of the skin causing swelling, blisters etc. In such a situation, immerse the burned area in cold water for at least 10 minutes and dry it off using soft cloth. Then apply antiseptic.
c) Third-degree Burns
Affects epidermis along with fats and other tissues. This type of burn generally does not burn as nerves get damaged.
Never soak the wound in water or apply any sort of ointment. Just cover it with a sterile bandage or loose and clean cloth.
Minor Injuries
-
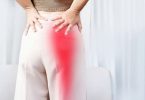
Sprains And Strains
The first step is to provide rest either by arm sling or crutches depending upon the body part that is injured. Then apply ice indirectly for some time and try to elevate the injured part above the heart level.
-
Minor Eye Irritations
If you wear lenses or spectacles take them off. Then the next step should be flushing the eye with cold water for some time. Never rub the eyes as it can do more damage than good.
-
Cuts And Scrapes
Initially try to stop the bleeding by applying pressure. Then clean the cut or scrape using cotton balls or a clean cloth. After this protect the wound by putting bandages, gauze or any dressing.
-
Eye Injuries
Never apply pressure or rub the eyes. Try to protect the eyes from any further damage. Try to keep your eyes closed.
-
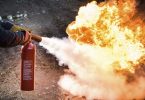
Minor Burns
Wash the area with running cool water for some time and try to apply aloe vera or soothing lotion. Then cover the burn with a sterile gauge but never scratch the area.
Maintaining Your First Aid Kit and Best Practices
-
Medication
Keep all the basic medications for pain and burns. Make sure to check the kit twice a year for clearing and replacing the expired medicines.
-
Storage
Always keep the first aid box in a cool and dry place because too much humidity may spoil and shorten the shell life of the items.
-
Re-stocking
Keep in mind to regularly restock the items. This practice ensures that you don’t run out of items and medications when you are in a dire need of them.
-
Get Trained Or Refresh Your Skills
You must get trained in the usage of the kit and the different ways of testing the injuries. Not only this, even if you have knowledge, get your skills brushed or upgraded to handle emergency situations in a better way.
-
Regular Practice
Try to regularly practice the methods and things you have learnt or are taught to you. This will help ensure that in times of need you will be able to handle the situation and provide immediate assistance.
FAQs
1. How do I maintain my first aid kit?
Ans. You can properly maintain your kit by checking the medication dates and restocking the items. You must also keep the kit in a safe place.
2. Where should I keep my first aid kit?
Ans. You should keep the kit in a cool and dry place where there is no humidity.


Leave a Comment