

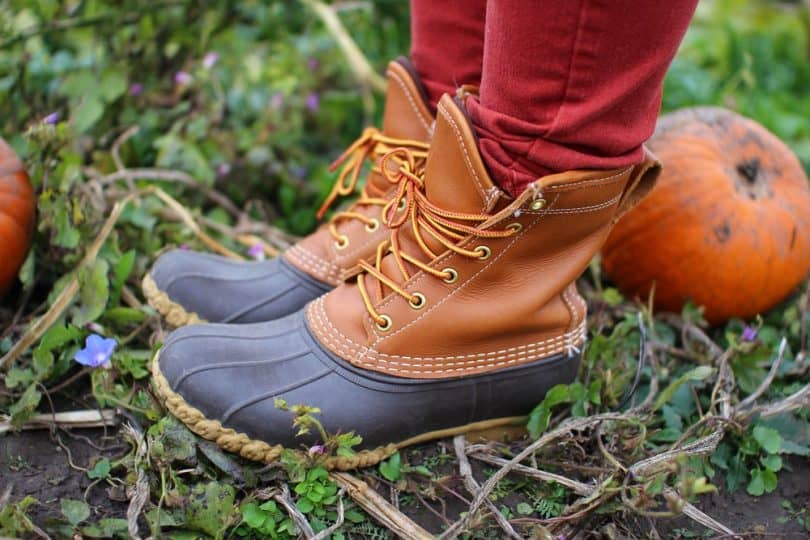
Apart from knowing how to clean and stretch your boot, knowing how well you can tie your boot knot will improve both the quality and longevity of your duck boots. If you don’t do it right, your boots will soon start to bunch and the toes will buckle under the pressure. There are two major methods to follow when tying these good vibe shoes made for considerable fun.
The first design comes pre-tied, so it’s up to you to accept it or change it i.e. the Eastland knot whereas the other one is the lacing bean boots.
Tie Duck Boots in 5 Easy Steps
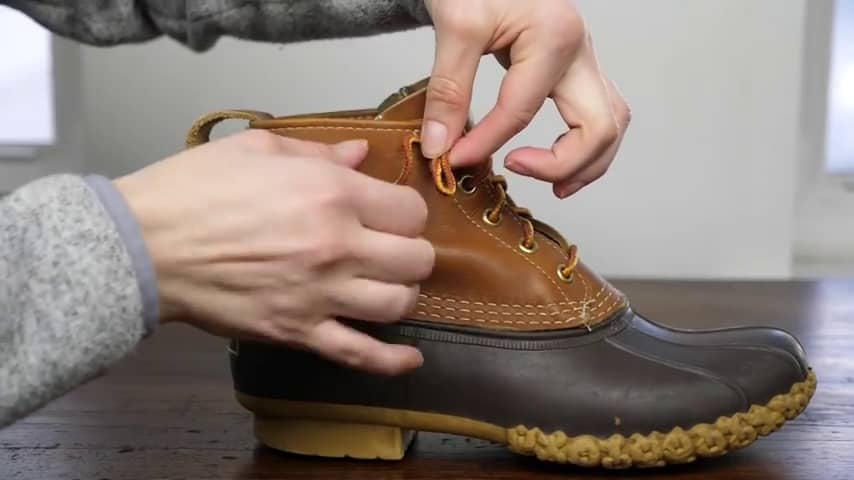
Tying Eastland Knots
You’ll experience the best comfort and efficiency with L.L. Bean Duck Boots if you try the Eastland knots. All you have to do is tie two double fisherman’s knots at the opening of your boot where you’ll have to tie the first one. Grab the laces at the top and tighten them, then tie one and pull the other to make sure you’ve got the knot tight.
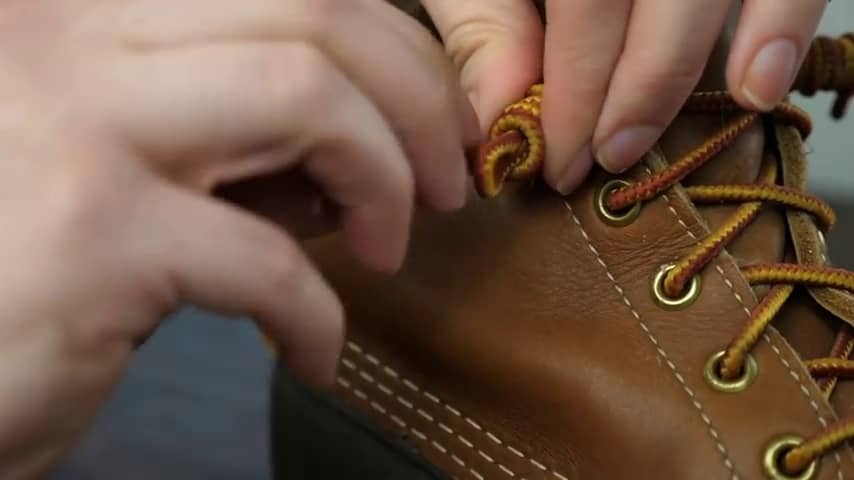
- Create a small loop
Not too big not too small, the exact measure will get the required knot. Try to make it at least 2.5 cm as this won’t hurt later in the process. Push the bottom of the loop and ensure your thumb and fingers are in the right place to keep the pace safe.

- Wrap the lace
The lace should be wrapped around the loop foundation. Hold the endpoint of the lace and pull it back where you began. Keep wrapping in the same manner by grabbing the edge and drawing it back over and over until you reach the starting point.
If you run into any snags, you can double wrap the lace. Once you have double-wrapped it, start from the outside the loop foundation and run your other hand in through the other side of the loop.

- Keep wrapping the lace around the loop
Every single wrap is dependent on the previous wrapping. Don’t allow some huge space between the distances of the lace while still wrapping. Until you’ve reached the loop while wrapping, that’s where the in-spaces can be seen at the last lap.
- Push the end of the lace
By now you should have created some space while you were wrapping. The end should pass via the middle of the loop once you’ve ended the lace. Use your finger to pull it and that will be the end of the knot towards your left side of the boot. Apply the same technique on the other side to experience the same results.
- Adjust the knot

Roll up the scrunch that is wrapped all over the loop downwards along the end of the bootlace. Make sure the entire lace is completely tightened if you want to knot and close your boot. On the off-chance that you want it loosed, just grab the lace that’s wrapped up until it becomes loosed towards the lace seen on the eyelet. You can also grab your boot laces and just make a little adjustment so that the top of the boot is high enough for it to be easy to reach the first strap, and still a good spot to cross your feet.
Lacing Bean Boots
This is a useful trick for fixing a variety of problems, such as when your boots are flabby or too hard or the length of the laces is not right.
- Feed the laces through the inside of the holes
Everything starts at the bottom of your boot; every end of each lace is supposed to get into the holes differently. The point is to make them go up but this time is from using the inside holes, but not the other way round that involves going downwards via the outer side. Don’t proceed further before you make both sides of the laces balance. You can achieve this by pulling both sides and use your eyes to make this judgment.
- Put the left end of the lace through the next hole up on the right side
Once again the trick is the same – pull the lace going upwards from the inside towards that hole.
Bear in mind that it’s not taking it from downwards and putting it through the top. Now use your hand to pull the laces and keep the pattern.
- Put the right end of the lace through the next hole up on the left side
The same thing you did on the left performs it on the right. Attaché the other endpoint of the lace, make sure it passes through the inner side of the hole. Finish this procedure by tightening the laces until the two sides cross each other. This is the new birth of the crisscross pattern you’ve been longing to see on those boots.
- Continue crossing sides with the laces until you’ve laced up the whole boot

At this point, if you’ve already done the learning and bought your boots and laced them up, there are still steps you need to take if you want to make this first. Find out whether you need the lighter fitting boot or you prefer the snugs one.
FAQs
1. How do you tighten duck boot laces?
Ans. To take that mystery away, here’s a simple-to-follow set of steps for a quick, easy way to tighten your duck boot laces. Begin by easing the tied lace that’s upon the loop downwards until everything is completely squeezed to close the connection/knot of the boots your lovely boots.
2. How do you fix shoelaces without tying them?
Ans. The Double-Lacing Technique-The double-lacing technique is one of the best for hiding your shoelaces. This method is fast and effective at concealing the shoelaces without taping them.


Leave a Comment